
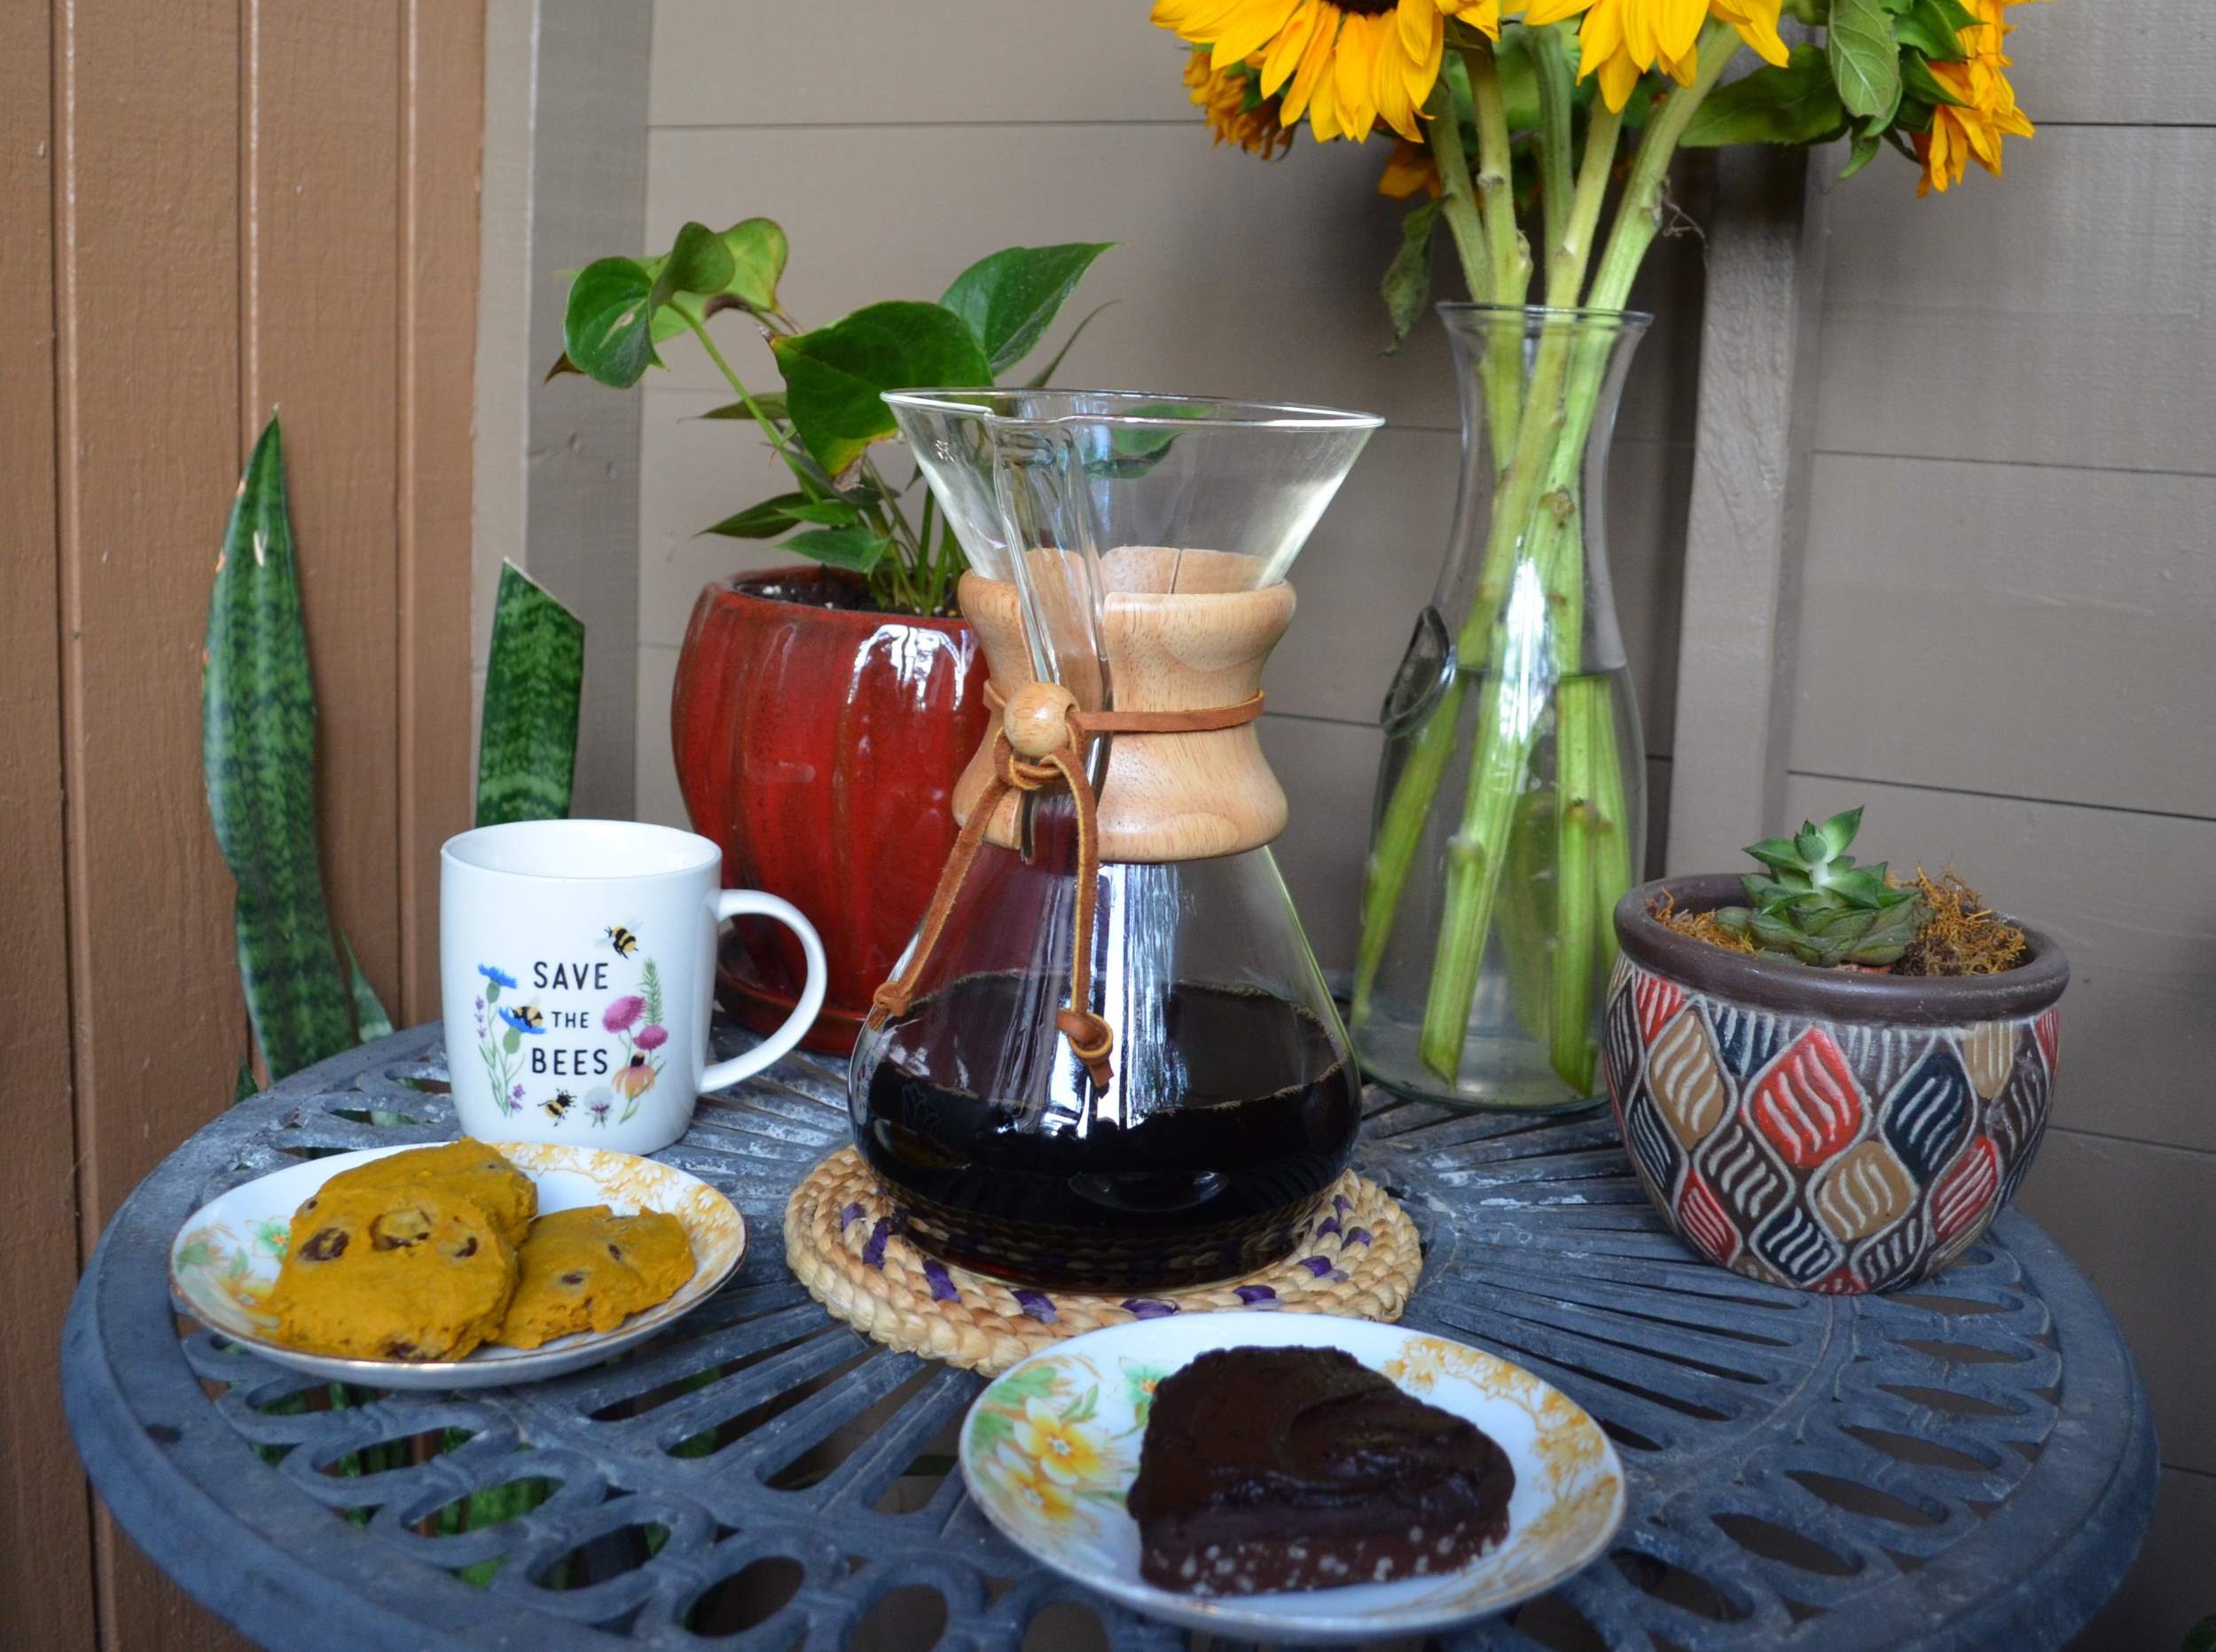


Autumn is my favorite season (yeah, Michelle, you and the other half of humanity), and I’ve been brainstorming ways to celebrate its arrival since the 1st of September. I know the official first day of fall was on the 22nd, but it was too close and I was too excited! It’s also upwards of 90 degrees (Fahrenheit) every day. The heat won’t stop my obsession for pumpkin recipes! Like pumpkin-spiced coffee brewed in my Chemex Coffeemaker…
back to regular news
Do you know about autumn’s perfect sidekick? It’s called coffee. Especially coffee brewed at home…on your porch…as the cool breezes blow orange, crispy leaves over your head… In my imagination, taking my Chemex Coffeemaker to brew outside completes my perfect autumn day. (Don’t forget the pumpkin spice creamer). For this blog post, I actually brewed on my porch (in about 90% humidity). It was a dream, though! I loved being able to enjoy the few plants on my porch. Well, the ones that the summer rains haven’t drowned. Entertaining outside is next-level compared to having coffee at the dinner table!
pros
- relatively portable
- relaxing to brew (take a breather, enjoy the process)
- straight-forward brewing method (& you look like a barista)
- aesthetically pleasing
- easy clean-up
- I turned on 2 friends to the power of the Chemex Coffeemaker after only 1 cup
cons
- wooden handle wears slightly if it gets wet and air-dries
- takes time to watch over it because you pour the water by hand
- breakable, as the whole body is made of glass
- coffee tastes much better if it is brewed with freshly-ground, whole bean coffee
Supplies

- 8 Cup Chemex Coffeemaker
- 42 grams whole bean coffee
- Burr grinder
- Kettle w/ water, just off the boil
- Paper filter for Chemex (creates a different flavor than other filters)
- Kitchen scale
- Stopwatch
- Your chosen mug of the day
No Party like a Chemex Party
step-by-step


- Heat up your kettle and let it come to a boil.
- Measure your whole coffee beans using your kitchen scale, and grind them to about medium coarseness. (I’ve been setting my electric grinder to about 44, so more coarse than what you would use in a V60.)
- Place the Chemex Coffeemaker paper filter into the brewing vessel by opening the flaps to make a cone shape. There will be three flaps on one side, and only one on the other. I’ve heard that it is helpful to place the thicker side against the spout so that the paper does not weaken and seal the spout closed. You need this open for steam to escape.
- Rinse the paper filter with water from the kettle to rinse the stray paper particles from the filter, heat up your vessel, and to form a seal around everything but the spout. Then, without removing the filter paper, pour out the water so your Chemex Coffeemaker is empty again.
- Dump your 42 grams of ground coffee into the filter. You can make a well in the center of your grounds with your finger here, but I don’t always. James Hoffman does it, so it must be good for something, right?!
- Place the Chemex Coffeemaker on the scale and tare it so the scale reads 0 grams. You’re ready for the first pour!
- Pour up to 150 grams of water in a circular motion to completely saturate all the grounds. Some people recommend giving this first pour a swirl, but I just let the coffee bloom on its own.
- At 45 seconds, begin 2nd pour up to 450 grams of water.
- At 1:45 seconds, begin your final pour up to 700 grams of water.
- Let the coffee finish brewing (about 4:00 minutes). The product of your labor should only reach about the bellybutton of the brewing vessel.
- Pour some of your leftover hot water into your mug to warm it up, and dump it out. This way it won’t cool down your coffee!
enjoy!
Now dress up your coffee however you’d like! Lately, mine has been dressed up in an autumn outfit, either with homemade Pumpkin Spice creamer or just with some spices sprinkled on top. Sometimes I even heat up/steam my cream before adding it to my coffee, just so it stays nice and hot. Coconut milk has been my milk of choice recently, even though it seems to be harder to find in the stores nowadays.
I hope you’ve found the answers you were looking for brewing in your Chemex Coffeemaker! It is my absolute favorite way to brew coffee. I’m still a beginner myself, so if you have any tips please feel free to leave a comment below to help me out. If you’re interested in learning how to brew in my other favorite brewer, see Easy Coffee Maker, Part 1: French Press!
P.S. Happy National Coffee Day!


2 responses to “Easy Coffee Maker, Part 2: Chemex Coffeemaker”
[…] can’t beat freshly ground beans in my Chemex, but it still has great flavor if you don’t dilute it too […]
[…] I have company, I always make a pot of Chemex-brewed coffee. My guests deserve the best-tasting joe I have to offer. Camaraderie is founded […]